
If you’ve had the chance to go beach metal detecting this summer, chances are you’ve had your sand scoop to hand and managed to get yourself some great finds – potentially some coins. If you’re looking on how to clean and store them, we have provided a guide for you!
Certain coins may have been buried for tens or even hundreds of years, building up grime and dirt that isn’t easy to remove. As long as they are not artefacts, cleaning these items can be easy and done with either household items or a specialist coin cleaning kit.
Disclaimer- Please attempt to identify the find/coin BEFORE cleaning anything. If you have something rare, cleaning the coin is strongly not advised as it can damage the surface (and the value) dramatically. Always get as much information about the find as you can before picking up the toothbrush and cleaning pencils, and in extreme cases, seek the advice of a preservation specialist.
Household Products For Coin Cleaning
Household products can sometimes be harsh on your metal detecting finds, especially on older finds that could easily corrode. If you’re using something typically found in your cleaning supplies, we would recommend using more gentle products and scrubbing lightly.
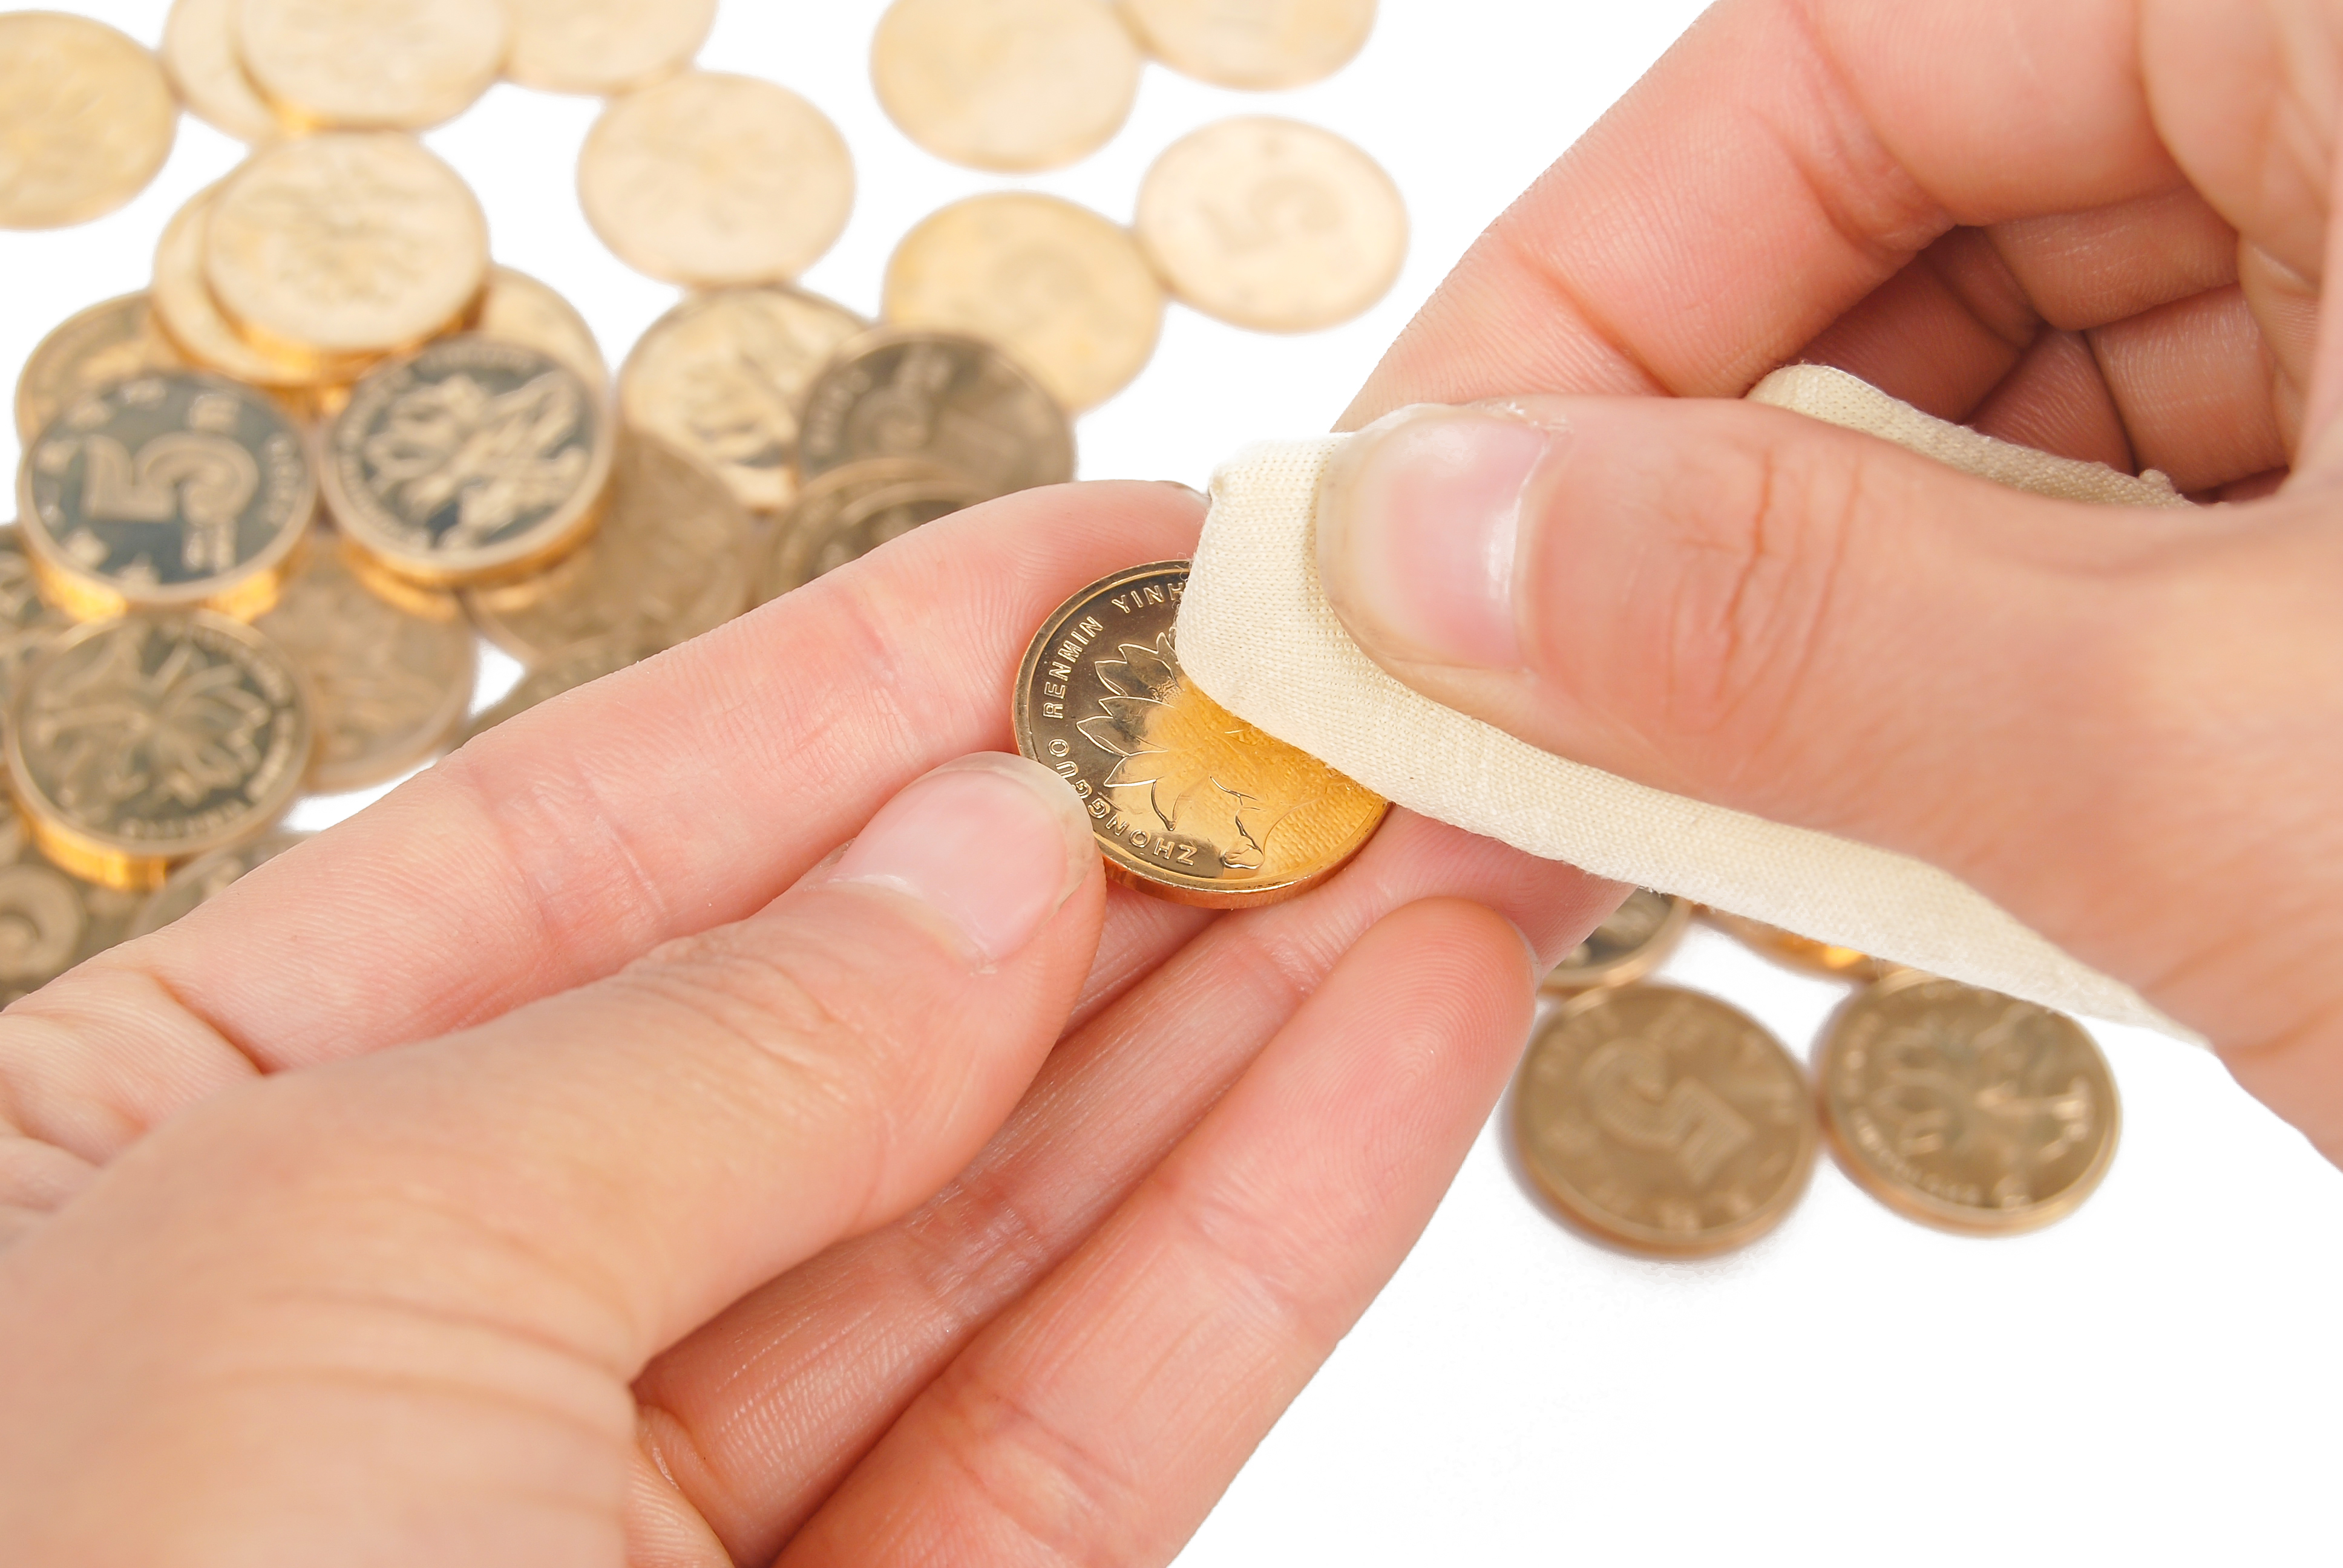
For your household products, we recommend soaking the coins in distilled water. Place your coins in a bowl of distilled water and leave for a few hours to let the surface grime soak. Once ready, take a nail brush or a toothbrush and some running water and gently wipe over the coins, removing as much dirt as possible. After the coins are clean, place them in a dry box (a Tupperware container lined with tissue paper) and leave them to dry out for a few days. You can also put in silica gel to draw out the moisture, but don’t let it touch your coins. After a few days of patience, you can remove them and coat them in Renaissance wax to seal the coin and give it a nice polished look. Alternatively, put it inside an airtight coin capsule to stop further corrosion and slow down the toning process.
You may have found a silver coin and thought it feels a little bit too delicate to clean using the methods above, so I will go over a little trick I learned a while back. Usually silver coins tend to tone/ tarnish to a black colour, which is hydrogen sulphide, and can occur when silver is exposed to a lot of moisture and humidity. To remove this black coating, get some aluminium foil from the kitchen and tear a small section off. Place the coin in the aluminium foil and (here me out) apply some of your saliva directly onto the coin and foil. Then, fold the foil around the coin and rub gently. You may feel the foil getting very hot and smelling of rotten eggs, which is a sign the process is working. After a minute or two when the reaction dies down, open the foil and repeat until you have removed as much hydrogen sulphide as you wish.
Creating Your Coin Cleaner Kit
You can also use or create a coin cleaning kit to polish your finds. Using a specialist coin cleaning fluid will get your coins shiny. Submerge your coins into the fluid for 10-15 minutes. Once the coins are clean, rinse any excess fluid off using your tap. You can also use microwax for cleaning coins or cleaning pencils to remove any hard-to-get grime.
If you have a barrelling or coin cleaning machine, ensure you buy the appropriate products for it before utilising this process. Coin cleaning fluid for these machines is purchasable, however be sure to check the fine print before purchasing to ensure you have the right solution for your needs. .
Regton supplies a range of sand scoops for beach detecting, along with all the products to make up your perfect coin cleaning kit. Be sure to check out our accessories for cleaning and storage here.